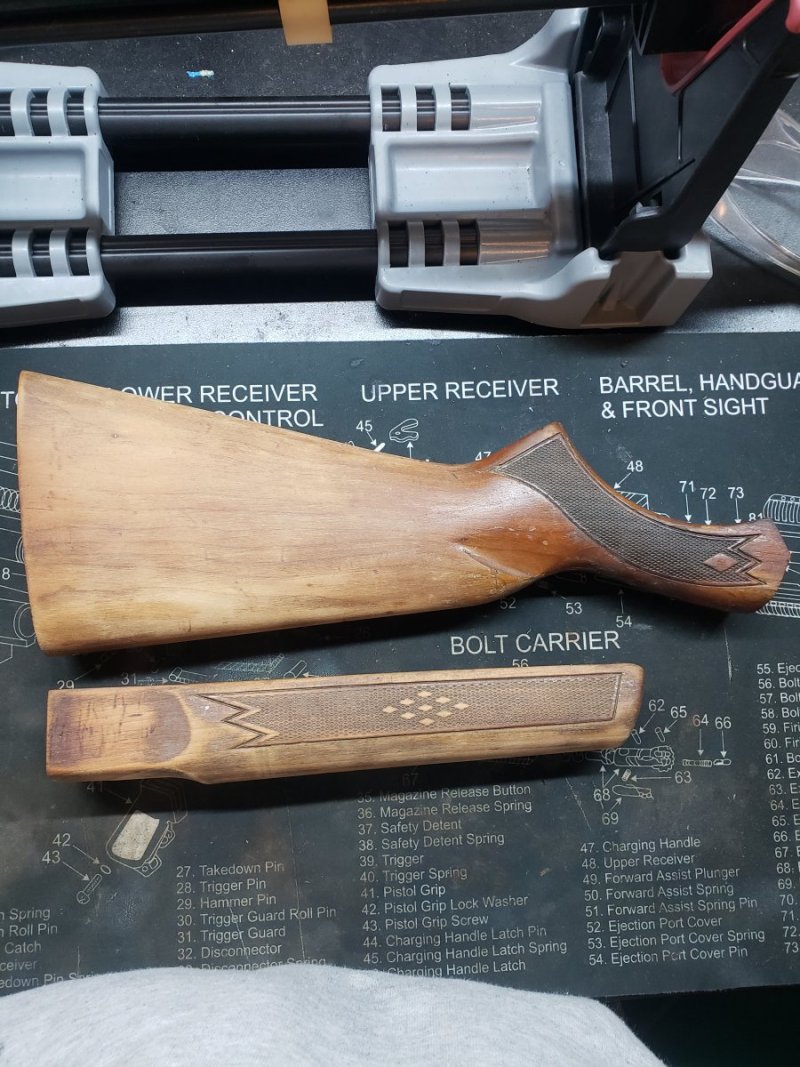
So the old screw holes were worn on this old Remington. Using a various drill bits from small to larger I slowly opened up the hole until my wooden dowel was a tight fit. I used my dial caliper to find the closet bit. Once that was done I cut the dowels to proper length. Putting a slight crimp in the dowels for air to escape. Smothered in wood glue inserted and seated home. Now to wait 24-48 for full cure of the glue then I will mark my holes.
I could have used tooth picks for a temp solution but these holes had a tad bit of wood rot. So elected to do this instead of a temporary fix.