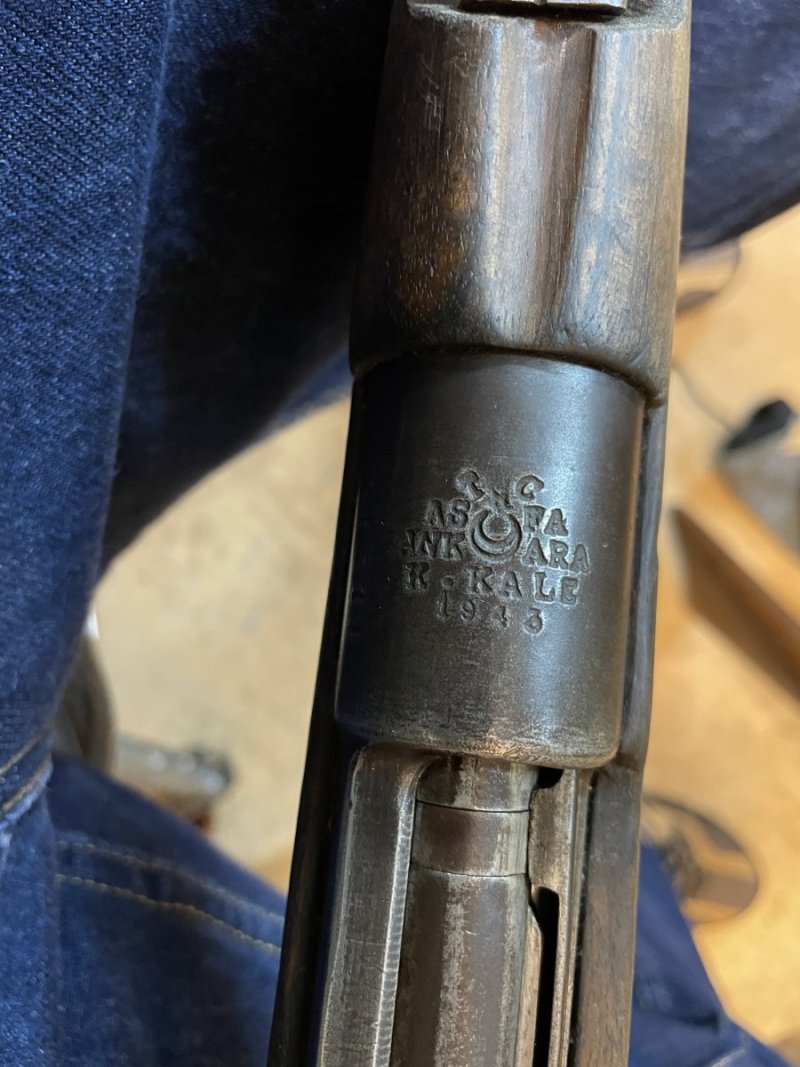
I'm in the process of getting a solid, yet expensive add on for one of my K's. These diopter sights are supposed to be magical and precisely accurate. I wasn't sure the process of adding these to the rifle and sighting them in so I've been talking to Mr. Latigo St. Marie. He was kind enough to send me a step by step via email and I thought I'd share it here for those who may be interested in the future.
http://www.swissproductsllc.com/
Sighting in a diopter set
Pre-sight in:
1) Make sure rifle is unloaded. 2) Install diopter set properly on to the rifle. Make sure all the diopter screws are tight. 3) Loosen both action screws and both barrel band screws. 4) Hold rifle vertically with its butt plate against the ground, grab barrel and push towards butt. 5) Tighten front action screw first, then tang screw. Back off tang screw slightly. 6) Tighten front barrel band. Barrel should be centered in stock. 7) Tighten sling barrel band only enough so that the spring detent can still be moved when you press on it.
Sight in:
1) Get into shooting position with unloaded rifle. Everything you will need to shoot should be within arms reach. Do not get up or move your elbows too much. 2) Find the best place for your cheek on the stock. You should be fairly close to the safety ring. I use my thumb as a spacer between the ring and my nose to get the same cheek position time after time. I of course lower my thumb before firing. 3) Center the front sight hood in rear sight. Should have equal amount of space all around the outside of the front side hood
4) Aim at target, center it in the middle of your front sight ring or on top of the front sight post with a slight gap between the top of the post and the bottom of the target. 5) You should always be focusing on the front sight, not the target. 6) Dry fire a couple times. 7) Move to the third smallest hole available on the rear diopter sight. 8 ) See how sharp the front post or aperture is. 9) Compare the sharpness of the front sight using smaller and larger rear diopter hole sizes. Look for the clearest possible setting for the light conditions you have that day. 10) Now you can load the rifle! I just saved you a lot of money in ammo. 11) Keep a sheet of paper and a pencil handy. Keep track of every shot. 12) First shot is a fouler. Write:"1- F", and its clock position. 13) Fire three more shots and write down their clock positions. 14) Estimate where the center of shots 2, 3 and 4 is and correct accordingly. Remember each click is ¼ MOA. 15) Repeat from 13 until youre sighted in.
Notes: All of the following are more noticeable as the shooting distance increases. 1) Expect your point of impact to change during the course of the day as the sun changes it position relative to the target. 2) If you change aperture size after sight-in, you most likely will have re-sight it again. 3) Changes in cheek position WILL affect your sighting. 4) Changes in body positions WILL affect you sighting. 5) Do not mix ammo, I always try to use the same lot of ammo in a session, even with GP11.
Thanks
Latigo St.Marie


