• ODT Gun Show this Saturday! - Click here for info and tickets!

Making New Grips for a H. Schmidt SA 22

2nd4ever

Default rank <100 posts
Hunter
3   0
Joined
Feb 4, 2013
Messages
64
Reaction score
0
Location
Athens area
This is a Herbert Schmidt SA that I've been doing some work on and thought I'd share the process I use to make grips.
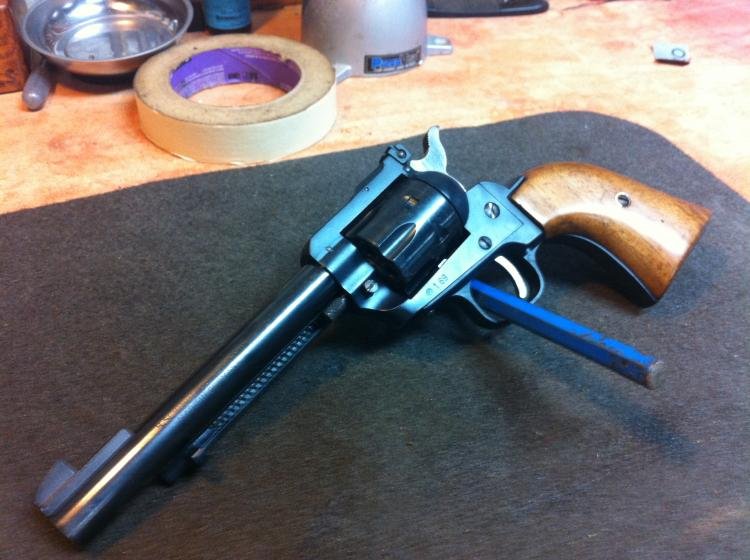
IMG_0629.jpg

The existing grips don't seem to fit after someone did a little to much sanding.
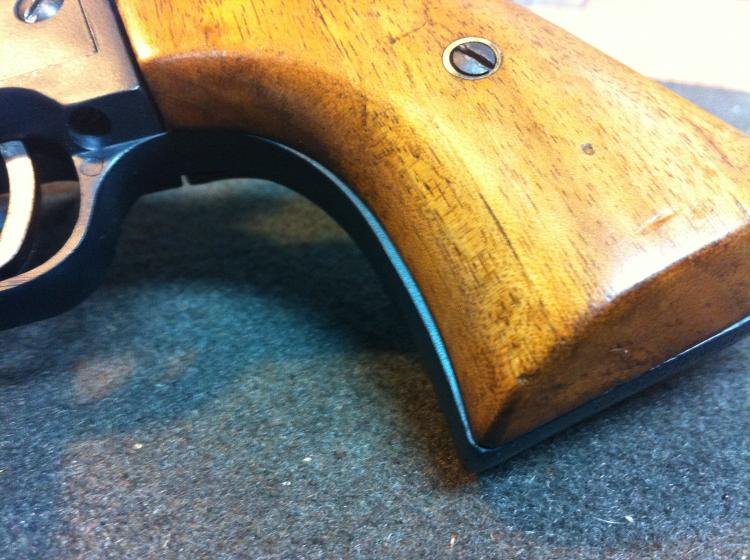
IMG_0628.jpg


Step 1: Template
I like to use clear overhead projector sheets for my templates. (I'll exlpain why as I go). Trace with a sharpie so you get a wide line around the grip and trim to outside edge of line.
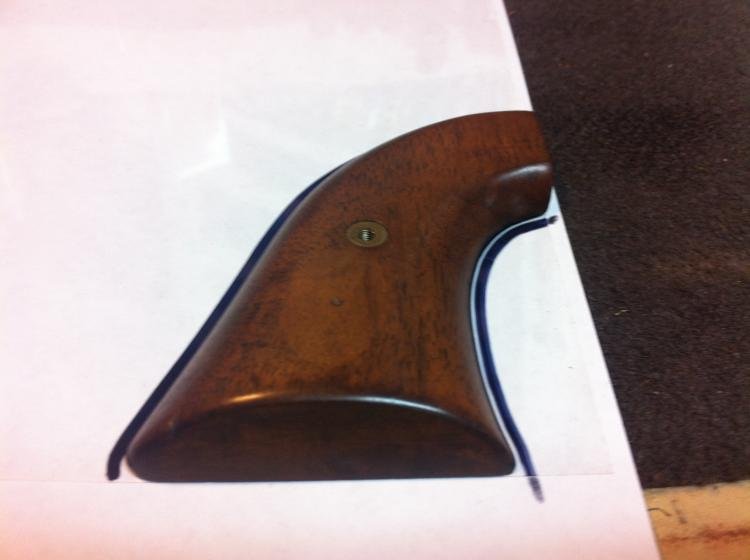
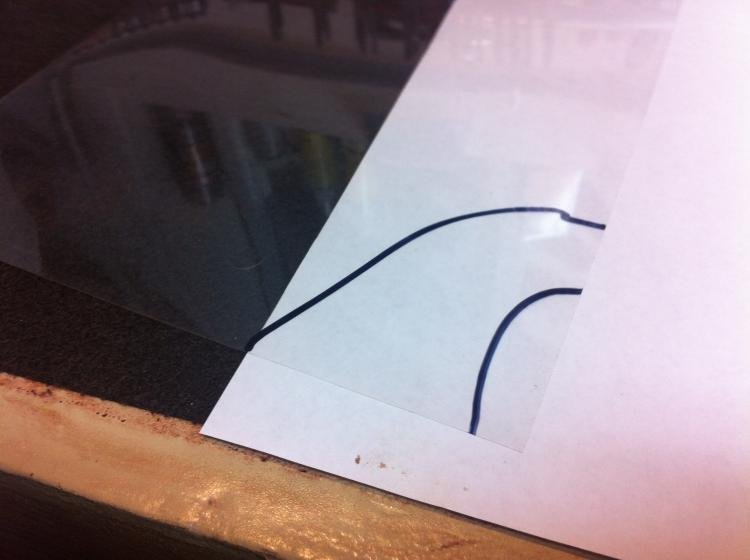
IMG_0630.jpgIMG_0631.jpg


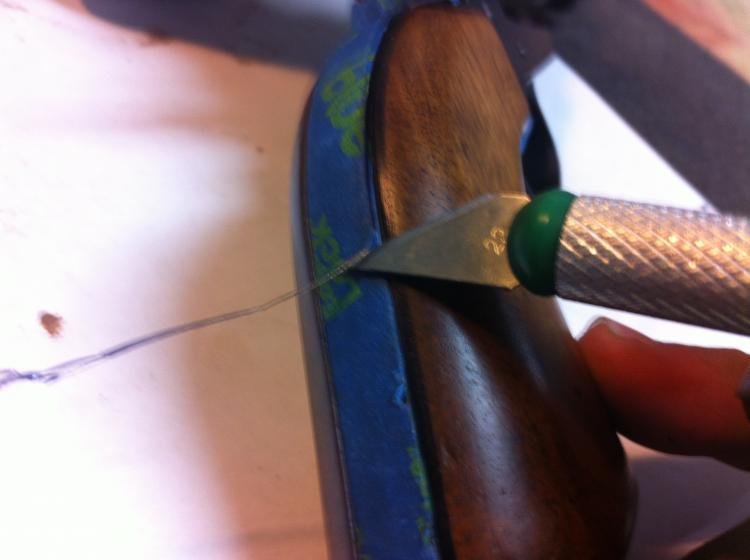
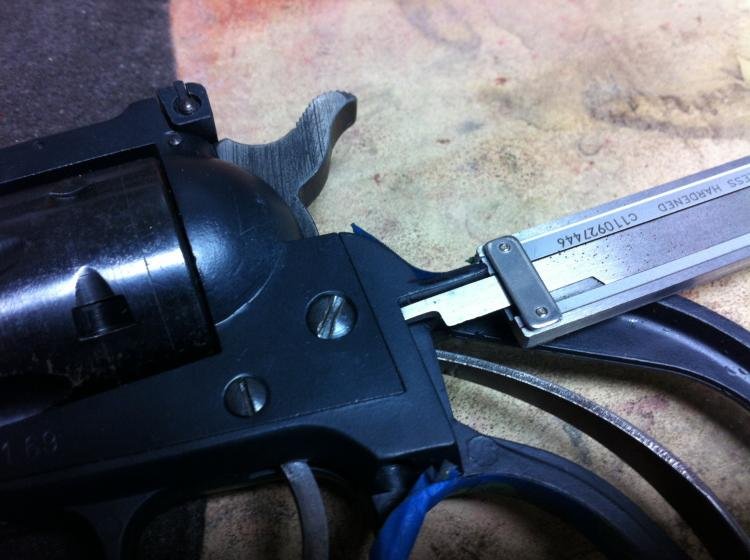
Let's go ahead and protect that new Socom Blue Cerakote finish with some painters tape and then trim off overhanging tape with a razor.
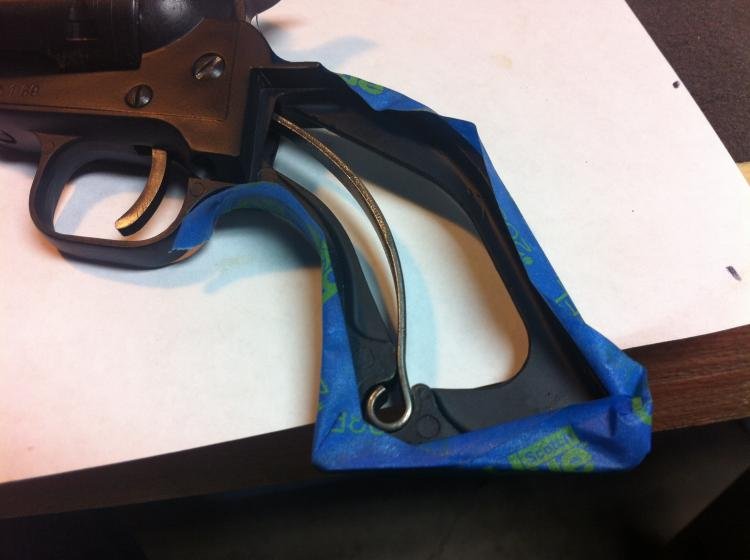
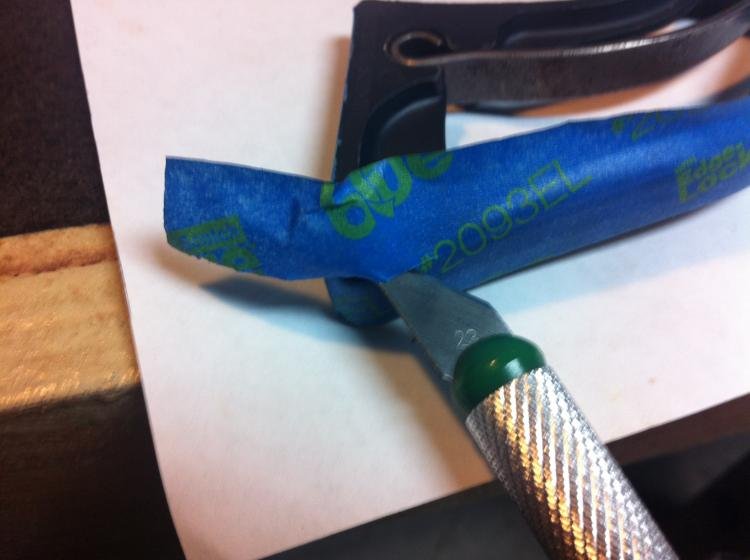
IMG_0634.jpgIMG_0636.jpg


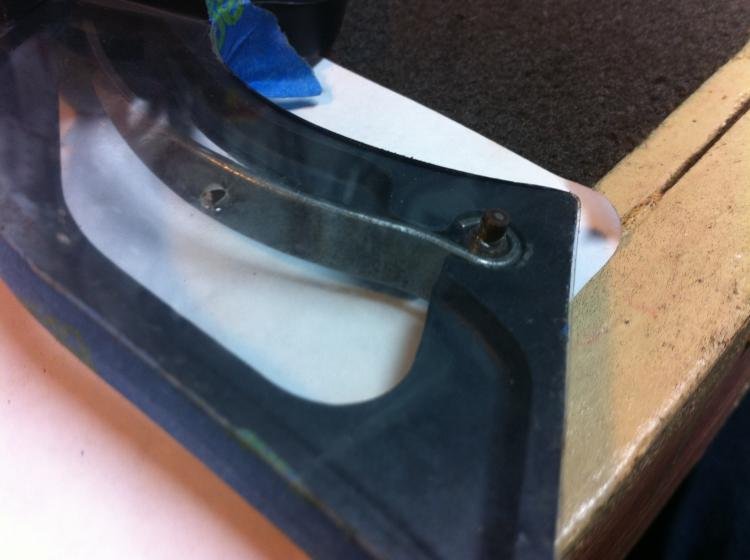
Now trim the notch next to the reciever for a perfect fit and then hold the existing grip up tight to the frame and punch the hole for the grip screw.
This is reason #1 for using transparency.
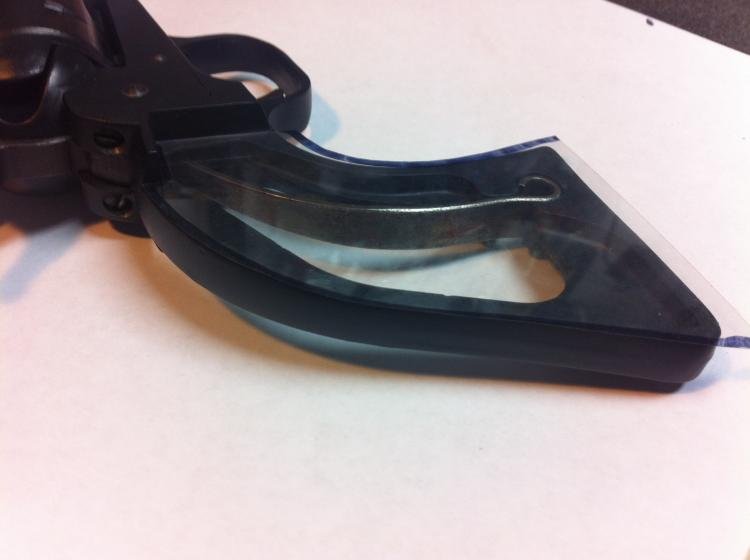
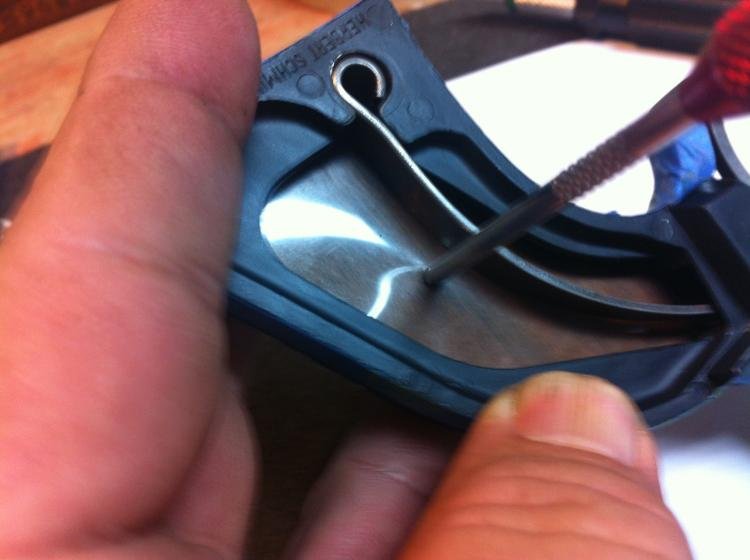
IMG_0632.jpgIMG_0637.jpg


Put the grip pin in and then screw down both grips so the grip pin puches the locating hole for the pin.
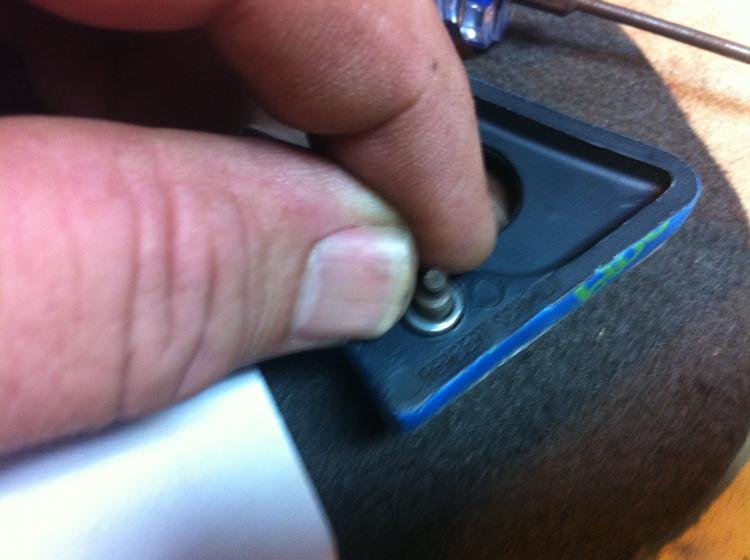
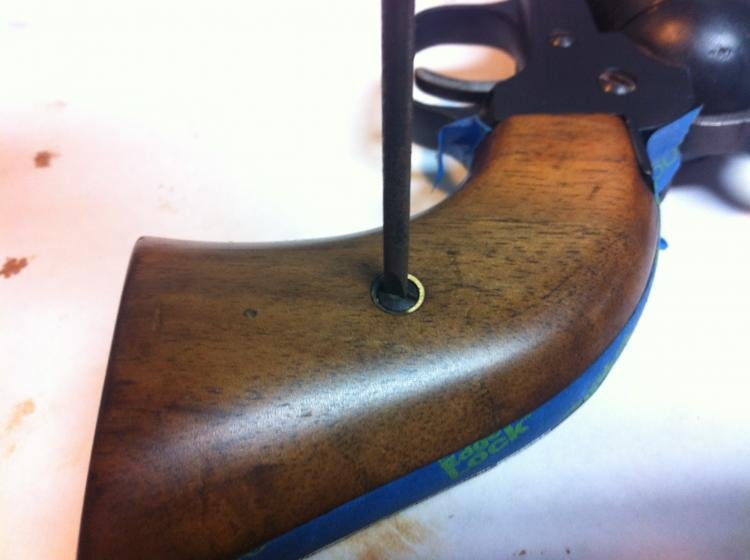
IMG_0642.jpgIMG_0643.jpg
 
Last edited:
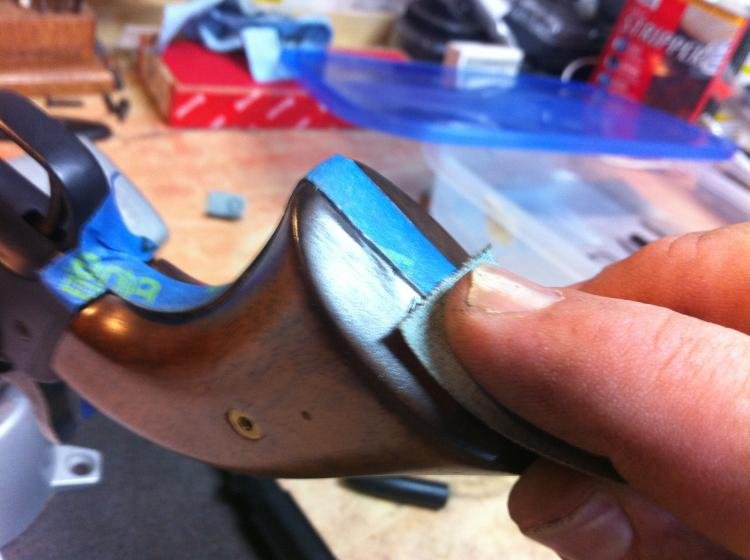
Now let's trim off the excess template with a razor and then use some 400 grit sand paper to get it flush.

IMG_0639.jpgIMG_0640.jpg

Now I have a perfect copy of the frame with all locating holes to start working the wood with.

IMG_0644.jpg

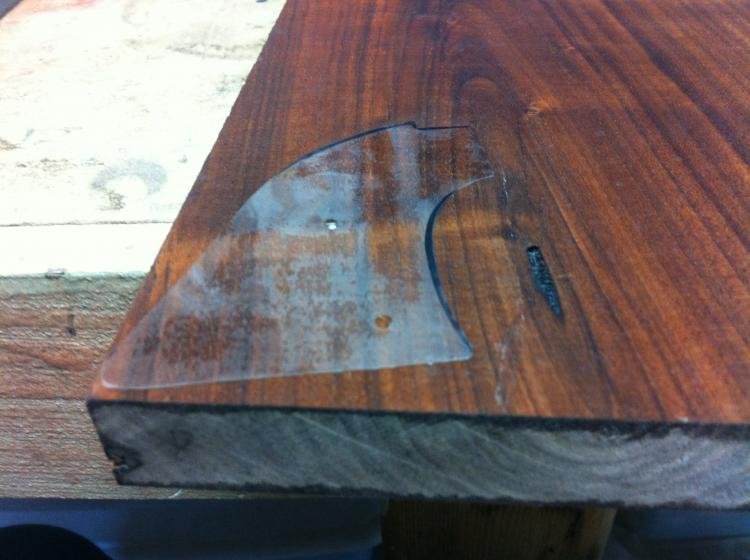
Reason #2 for using transparancy, I can see the wood grain on the board and can get tha perfect grain pattern in the grip.
I like to wet the board first so the grain patterns will show the way it will with finish on it.

IMG_0645.jpg

Out of time today, next is step 2: wood prep
 
That is pretty smart. I was stuck attempting to drill six holes in a slide for an optic sight and resorted to plexiglass. I really like this solution to making wood grips and will use in the future.

Thanks.
 
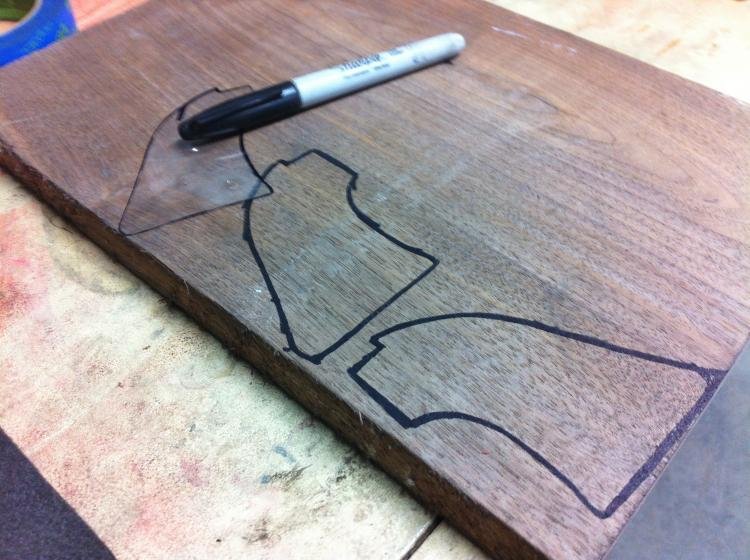
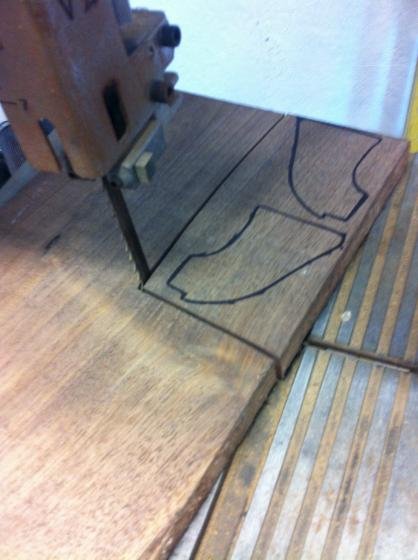
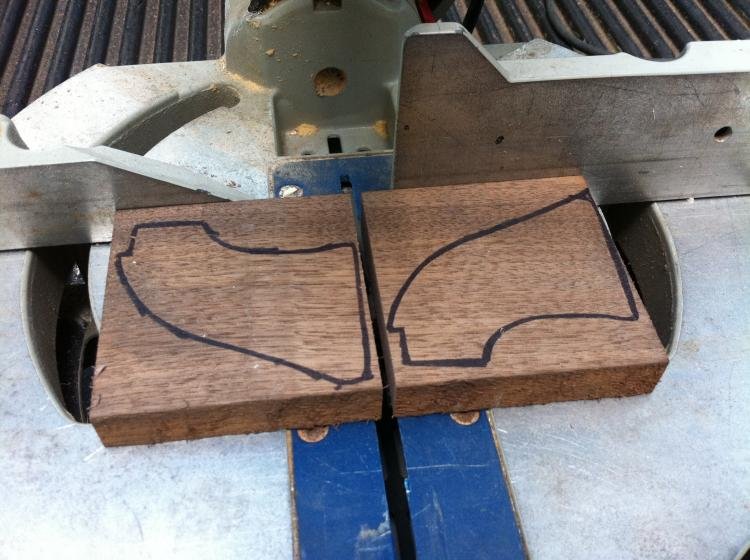
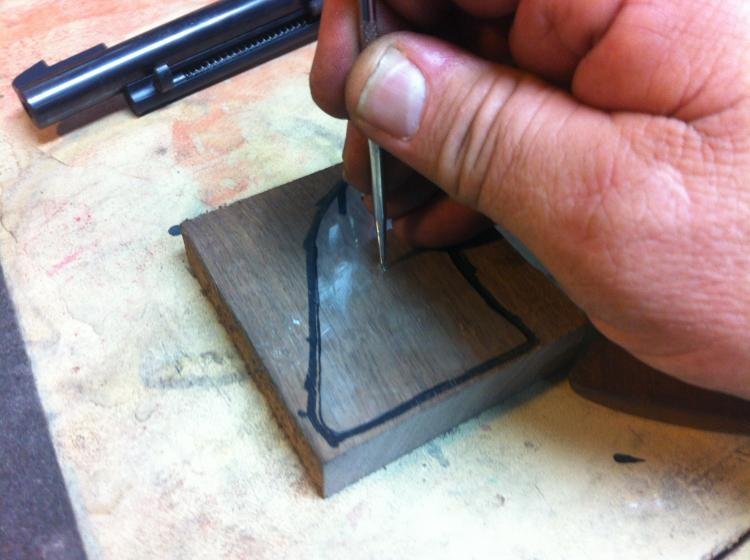
Once you find that perfect wood grain, trace your templates with a fat Sharpie, (the wide line is like no man's land) and if you can, trim the grips out as one piece. Be sure to leave enough room for saw kirf between grips.

IMG_0649.jpgIMG_0650.jpg

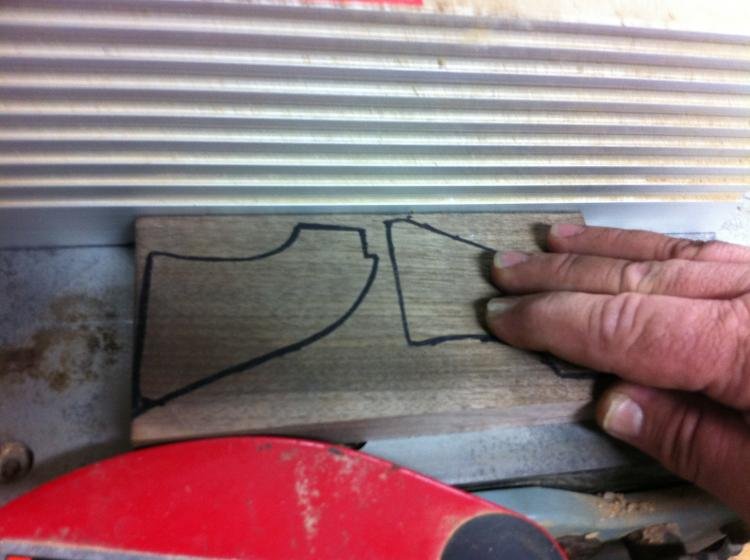
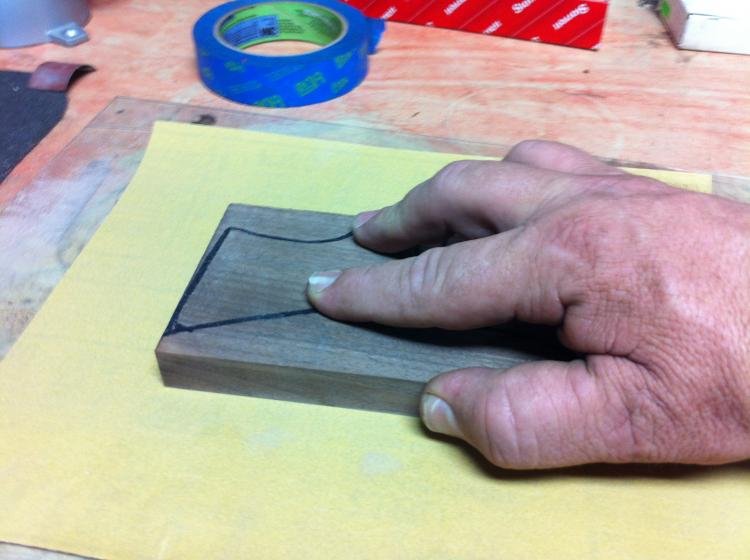
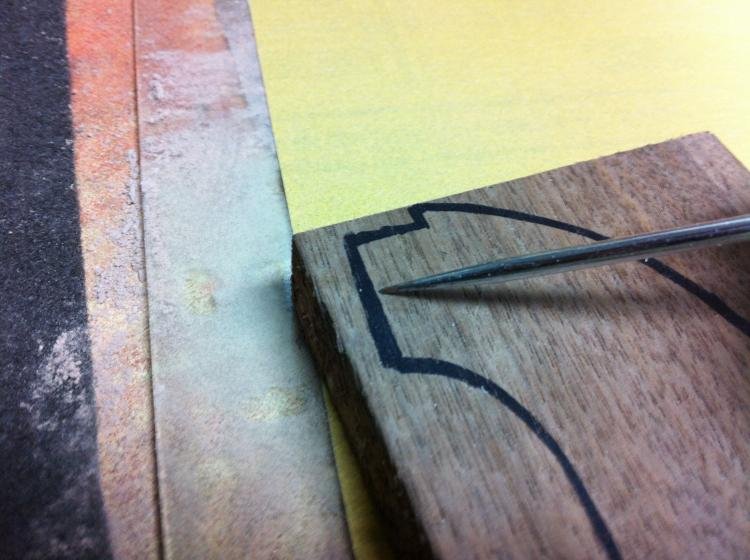
Joint and/or sand the back of the grips. This gives a dead flat grip back so you don't get any rocking or loose fit.
I use 180 grit sand paper on a piece of glass for a dead flat back. If you don't have a jointer start out with a lower grit and work up to desired finish.

IMG_0652.jpgIMG_0655.jpg

Separate grips.

IMG_0659.jpg

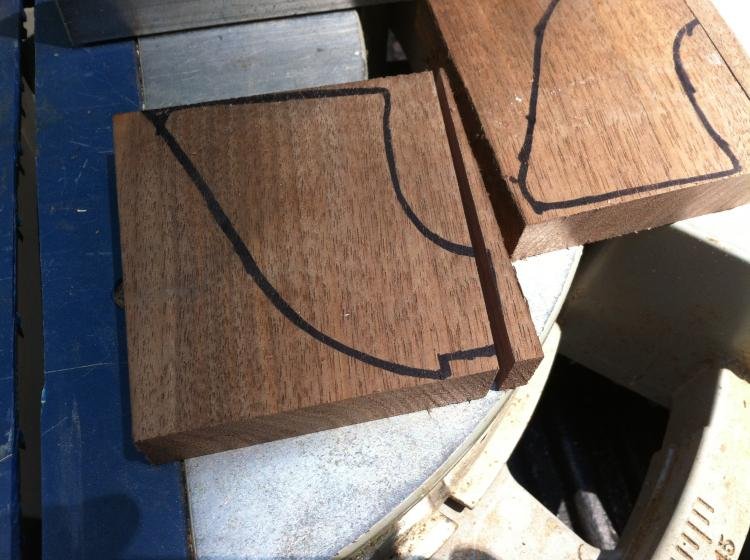
This line is the critical cut and has to be dead flat for every thing to fit right. Use a chop saw or table saw. This is the main recoil bearing surface of the grip so it has to be right for the grips to last.

IMG_0657.jpgIMG_0660.jpg

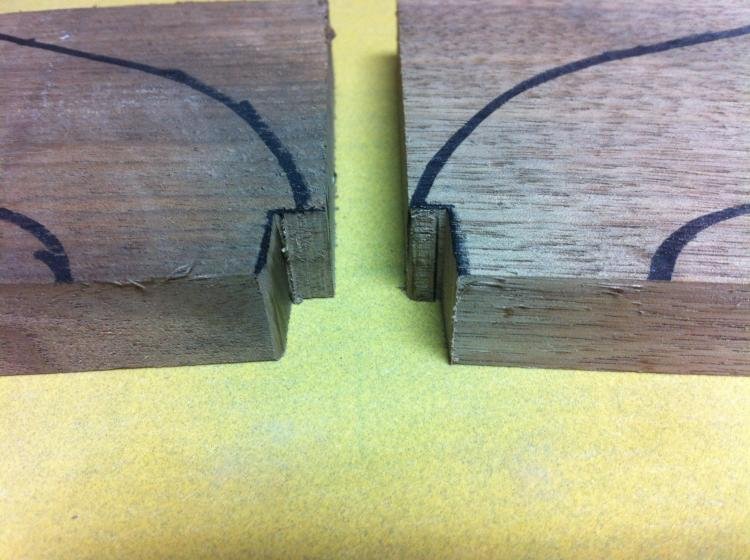
Trim out notch. Be sure to stay outside the sharpie line.

IMG_0663.jpg

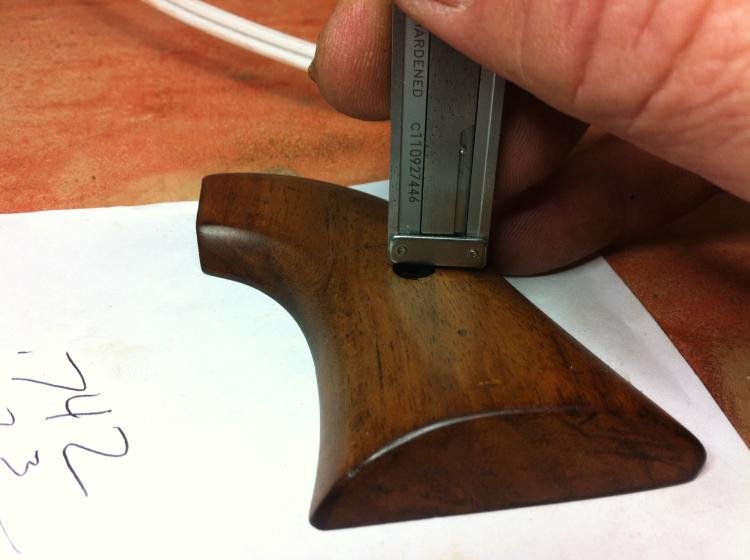
Measure depth of notch and lock caliper. Then set grip in vice and set depth and level to top of vice.

IMG_0665.jpgIMG_0668.jpg
 
File the notch till flush with top of vise. I like to use files because they are flat.

IMG_0669.jpg

Now mark the hole for the grip screw.

IMG_0672.jpg

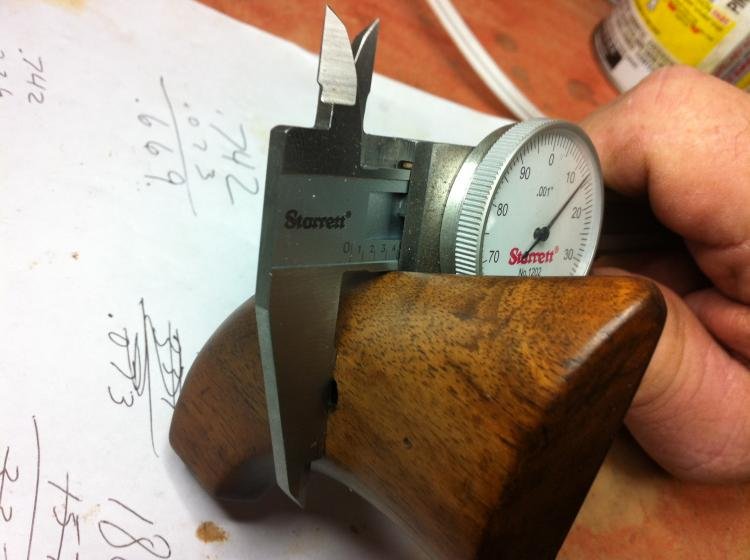
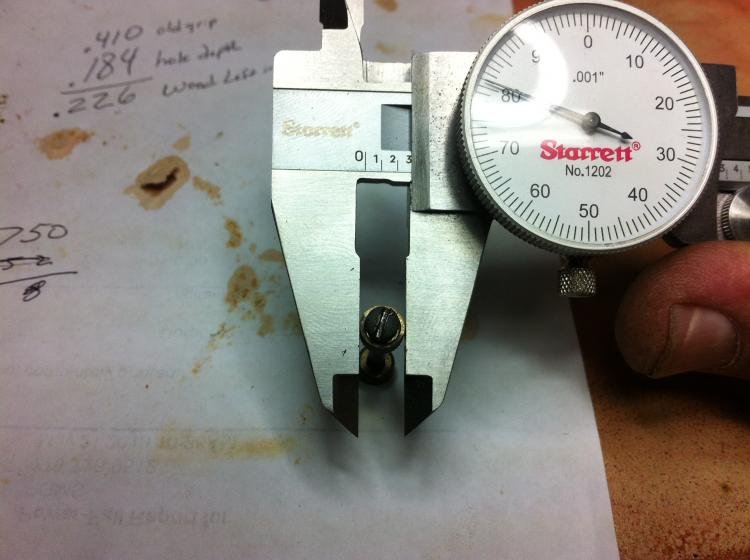
Measure the thickness of your wood blank and the thickness of the old grip across the screw hole.

IMG_0675.jpgIMG_0680.jpg

Now measure the depth of the larger hole. Time for some math. 0.413(total thickness of old grip) - 0.163(depth of larger hole) =0.250(amount of wood left to support the screw insert)
Use a drill bit to measure the diameter of the smaller through hole in the old grip (1/8")
Measure diameter of insert from old grip (0.282")

IMG_0678.jpgIMG_0681.jpg

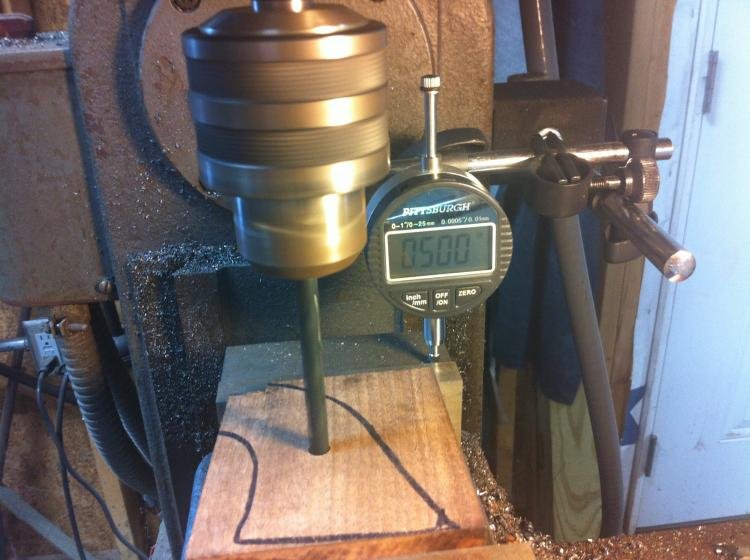
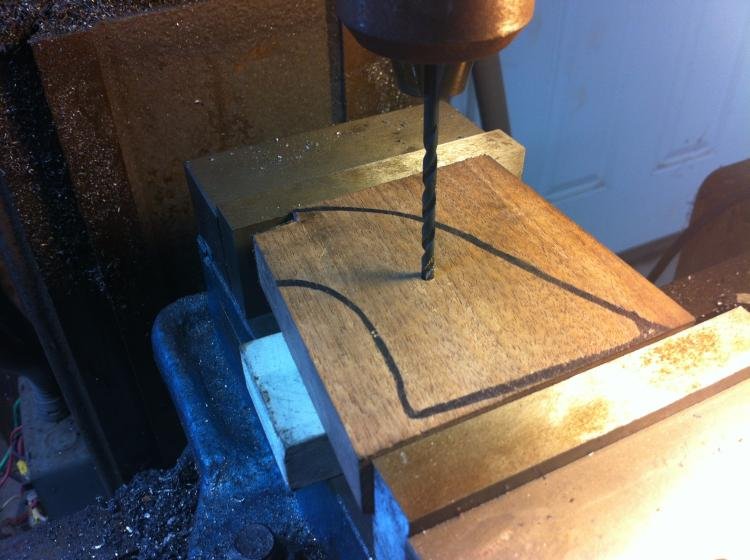
Now center up the 1/8" bit on the previously marked screw hole and place a scrap piece of wood under the back side of the grip to prevent tear-out when the bit passes through the grip. Don't move anything untill the larger hole has been drilled to depth.
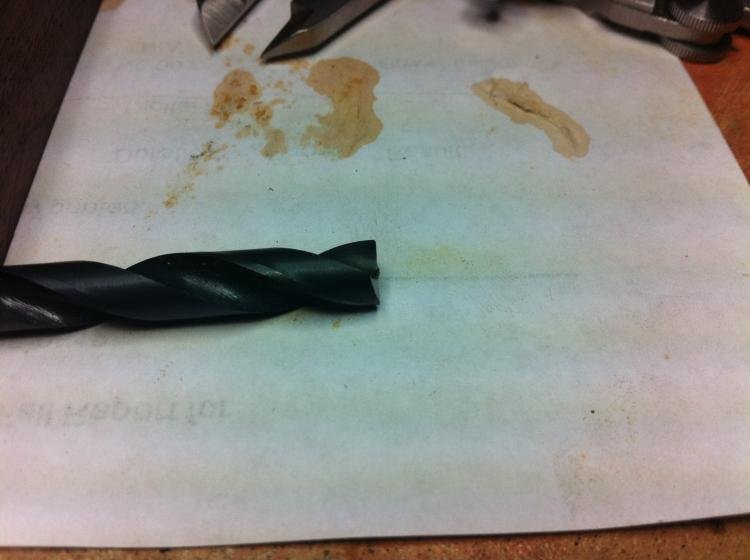
You need a flat bottom hole for the insert so i had to make one by grinding a size J (0.275") bit flat on the end and then relief cutting the flutes.
This makes my hole about 0.007" smaller so that I can get a wedge fit without glueing in the insert.

IMG_0674.jpgIMG_0689.jpg


I've got a 3/4" piece of wood that I need to leave 1/4" for support of the insert.
Use the homemade bit to drill 1/2" deep.

IMG_0685.jpgIMG_0687.jpg

Tap in insert till it bottoms out and the wood prep is through. Next is shaping, but first I will get caught up with the other side.
 
Back
Top Bottom