Starting this thread to illustrate a Saiga build and my research leading up to it.
Picked up a new Saiga 223 from BullsEye in Lawrenceville. Every time I go in that store its a mosh pit of people, took a couple minutes to find what I was looking for. I had a really hard time deciding between a 5.45 and 5.56, ultimately it came down to 5.45 is mostly available in corrosive. Its not that I dont mind cleaning a weapon after its fired, its just that I dont want to HAVE to clean it to keep the gun from being damaged in some way.
I spent a long time researching AKs and figuring on the best option for the funds available. The fit, finish and function of the Saiga in comparison to all the other AKs that I have held and fired is really superior. On a side note, I will admit the MAK-90 was a good buy as well, the Chinese did this one right.
I also looked heavily into Arsenal built AKs. Once I figured out that they just converted Saiga rifles, I decided to go straight to the source. It also bothered me that the $1k Aresnals seemed to have spray paint or similar used to coat the receivers with. You would think for the price, they would Cerakote them or something more permanent.
So fast forward to after the purchase. I looked heavily for a recommended Gunsmith to perform the conversion. I called over 20 gun smiths trying to feel them out, I eventually narrowed it down to Ott Gun works and Fort Daniel Inc. Brian at Ott and Nate at FD are both super nice guys. Both very knowledgeable. It came down to Fort Daniel being 20 minutes away as the deciding factor. It just didnt make sense to drive 2 hours to Ott.
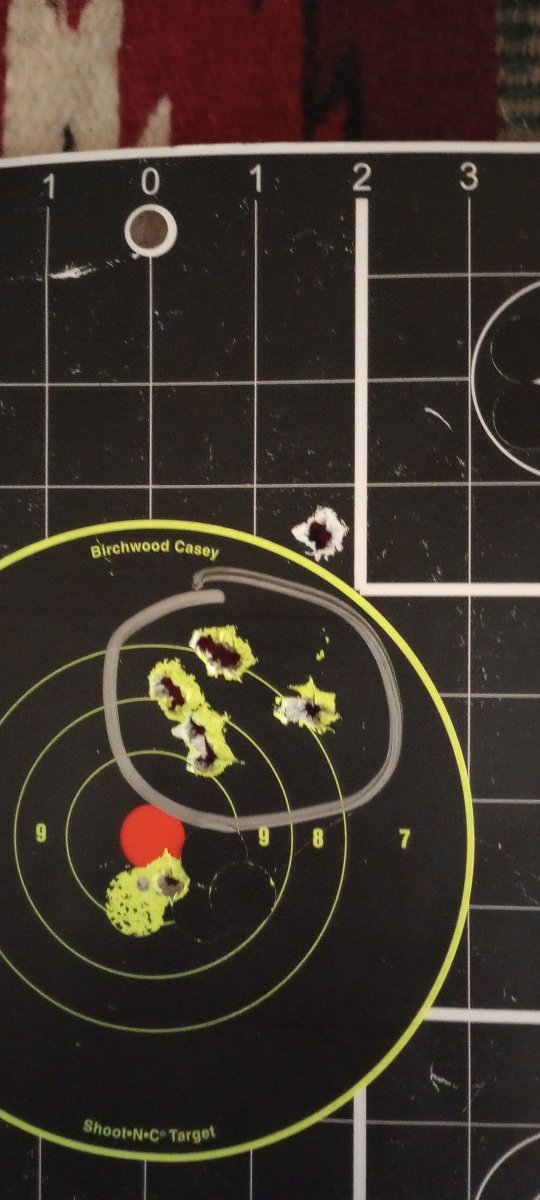
So on to the pictures.
Here is the stock photo and the goodies that are to come...
All conversion parts purchased from Carolina Shooters.


Follow up in progress pictures to follow.
Picked up a new Saiga 223 from BullsEye in Lawrenceville. Every time I go in that store its a mosh pit of people, took a couple minutes to find what I was looking for. I had a really hard time deciding between a 5.45 and 5.56, ultimately it came down to 5.45 is mostly available in corrosive. Its not that I dont mind cleaning a weapon after its fired, its just that I dont want to HAVE to clean it to keep the gun from being damaged in some way.
I spent a long time researching AKs and figuring on the best option for the funds available. The fit, finish and function of the Saiga in comparison to all the other AKs that I have held and fired is really superior. On a side note, I will admit the MAK-90 was a good buy as well, the Chinese did this one right.
I also looked heavily into Arsenal built AKs. Once I figured out that they just converted Saiga rifles, I decided to go straight to the source. It also bothered me that the $1k Aresnals seemed to have spray paint or similar used to coat the receivers with. You would think for the price, they would Cerakote them or something more permanent.
So fast forward to after the purchase. I looked heavily for a recommended Gunsmith to perform the conversion. I called over 20 gun smiths trying to feel them out, I eventually narrowed it down to Ott Gun works and Fort Daniel Inc. Brian at Ott and Nate at FD are both super nice guys. Both very knowledgeable. It came down to Fort Daniel being 20 minutes away as the deciding factor. It just didnt make sense to drive 2 hours to Ott.
So on to the pictures.
Here is the stock photo and the goodies that are to come...
All conversion parts purchased from Carolina Shooters.
Follow up in progress pictures to follow.
Last edited:

 JK really hoped start to finish pics were inside.