This is a continuation of my series where I build one of our Onyx rifles. This particular post will have to be broken up into three installments as it is large and detailed!
Blueprinting a receiver is a very complicated task and there is no way I can actually show how I do this. Even if someone was here with me when I was doing this, it would take a long time to go through the machine settings and why I am doing each step.
If you do decide to do this yourself, remember machine tools can be extremely dangerous. They can cut through steel like butter and your hands (and other appendages) would offer no resistance whatsoever.
The basic stock Rem 700 receiver before any adjustments.

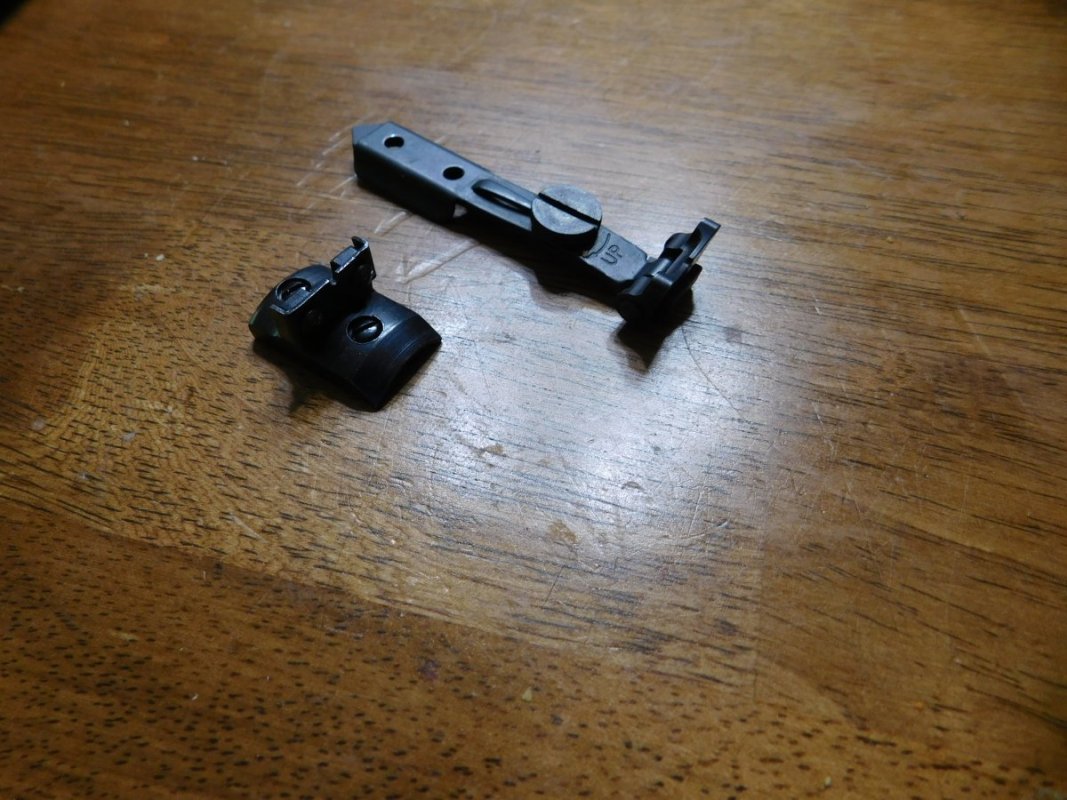
Internal locking lugs. You cant see it here, but these were several thousandths off from level with each other. Not good!

Truing fixture mounted on the lathe, receiver in fixture and Manson mandrel in receiver. This mandrel can be used to both assist in indicating the receiver in and also to overbore the internal bolt way if needed. This mandrel rides on two precision tapered bushings that are inserted into the bolt ways. Adjustments to the position of the receiver are made via the jacking screws on the fixture. It is important to note that the internal bolt ways and the external dimensions and threads are NOT coincident before truing.

Getting started with indicating. Two .001 dial indicators are used to get started. Two are used because this must be indicated in two planes to assure alignment all the way through the receiver. The fixture is turned by hand and adjusted until the indicators show no movement. Very time consuming!

After the .001 indicators show no movement, .0001 (an order of magnitude more sensitive) are set up for the final indication.

A .0001 dial indicator up close.

Once indicating is completed, the mandrel is removed and the boring bar is used to adjust the internal locking lugs.

More to come!
Blueprinting a receiver is a very complicated task and there is no way I can actually show how I do this. Even if someone was here with me when I was doing this, it would take a long time to go through the machine settings and why I am doing each step.
If you do decide to do this yourself, remember machine tools can be extremely dangerous. They can cut through steel like butter and your hands (and other appendages) would offer no resistance whatsoever.
The basic stock Rem 700 receiver before any adjustments.
Internal locking lugs. You cant see it here, but these were several thousandths off from level with each other. Not good!
Truing fixture mounted on the lathe, receiver in fixture and Manson mandrel in receiver. This mandrel can be used to both assist in indicating the receiver in and also to overbore the internal bolt way if needed. This mandrel rides on two precision tapered bushings that are inserted into the bolt ways. Adjustments to the position of the receiver are made via the jacking screws on the fixture. It is important to note that the internal bolt ways and the external dimensions and threads are NOT coincident before truing.
Getting started with indicating. Two .001 dial indicators are used to get started. Two are used because this must be indicated in two planes to assure alignment all the way through the receiver. The fixture is turned by hand and adjusted until the indicators show no movement. Very time consuming!
After the .001 indicators show no movement, .0001 (an order of magnitude more sensitive) are set up for the final indication.
A .0001 dial indicator up close.
Once indicating is completed, the mandrel is removed and the boring bar is used to adjust the internal locking lugs.
More to come!
Last edited: