• ODT Gun Show & Swap Meet - May 4, 2024! - Click here for info

Remington 740 stock redo

Sharps40

Default rank <2000 posts
ODT Junkie!
4   0
Joined
May 17, 2010
Messages
1,948
Reaction score
1,023
Location
NC
Okay, last one of these for a while...got summa my own stuff to get busy on and besides its nearly spring, time to shovel snow....I mean get outside and mow the lawn!

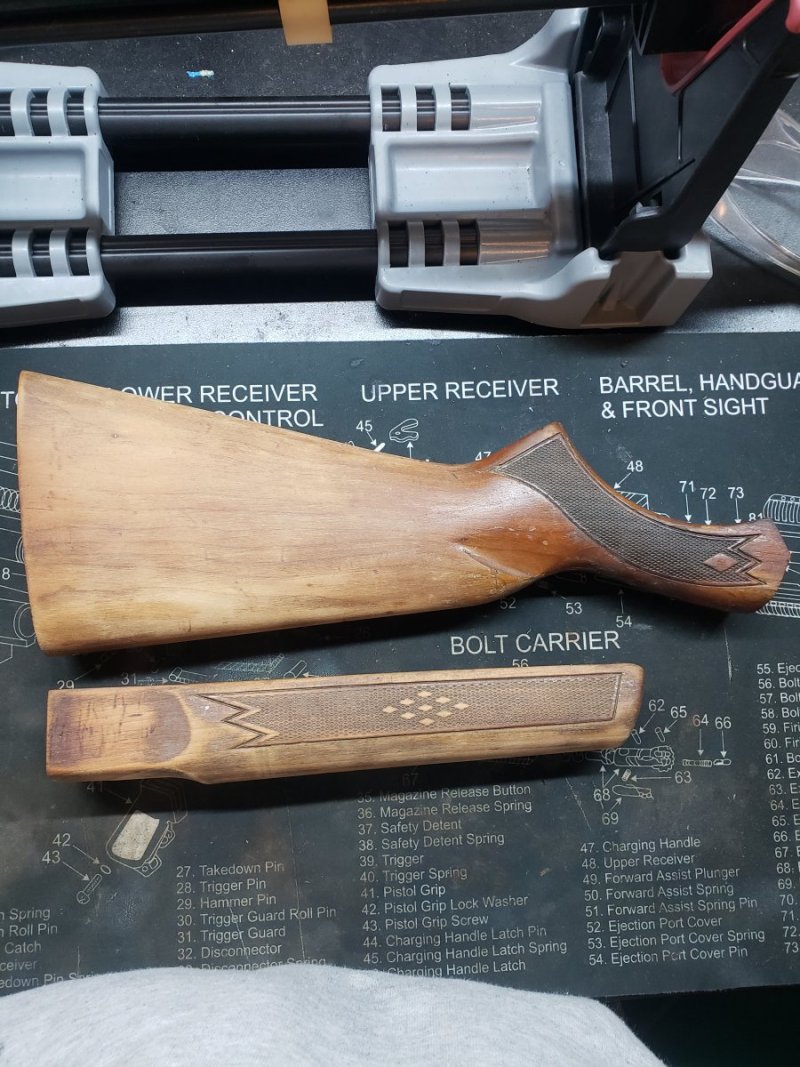
It's a Rem 740, 30-06 with good old straight grain walnut. Just needs a touchover on the wood finish. Blueing is good but after pullin the forend, I see we will need a total tear down and clean up inside...rust due to ENC Salt Air!.

Pics comeing quick.
 
Here it is...classy semi auto in the right caliber....30-06. Lil wee dinkey 30 calibers and lil wee dinky fat bottomed 30 calibers pail by comparison.

i.imgur.com_Xs66o8y.jpg


Oil stain on the wrist. This will still be there when done. Wood is very close to metal so a chemical strip and very little sanding. With some luck, the chemical strip will remove some of the stain.

i.imgur.com_mIi9f4o.jpg


Old school GPS. Compass built into the stock. Shoot yer inbound azmuth....walk around stalking all day, shoot a deer and shoot a 180 opposite azmuth to find the line back to your car. Works every time and no batteries, no beeping and cloud cover doesn't interfere with the signal. Do stuff simple, leave the gps at home, take a compass hunting. This one is smashed, we found a perfect original 60s issue replacement to install, thereby restoring the magnetic properties of this Woodstalkers Gunstock.

i.imgur.com_T0Uqnsb.jpg


The forend, in great condition.

i.imgur.com_hNtrtuh.jpg


Remove the retaining screw, slide it forward, loosen and slide the sling swivel forward too...gently pull the forend off the gas recoil assembly.

i.imgur.com_95yrmji.jpg


Eewww. This one has to get an internal purge too. Can't send it home like that, it will eventually fail to function.

i.imgur.com_gc9AP2g.jpg


Metal protecto sleeve inside the forend. Dont' try to remove it....its stuck in and ye risk breaking the wood in a misguided attempt to pull it out.

i.imgur.com_nvA0sXj.jpg
 
Given a very close look at the wood, I'd judge that the buttstock has been refinished at least once. The forend, I'm not sure but believe that to be the case as well. The finish does not appear to be factory, some sort of oil or oil modified varnish like truoil. But, there appears to be enough wood if we are careful, to go over it one more time.....

Another option for a working rifle where the finish is good, but a bit dull, clean it and buff or steel wool it then topcoat and buff.

There is a big gouge in the off side of this buttstock. It probably will not steam completely out and I don't know if there is enough meat left to sand it out but we'll press on with pride and see what can be done.
 
Blobbin on water based mint scented stripper, let it work for 10 minutes or so and then gently scrape away the finish with a non marring scrape, in this instance, a chunk of CD case. Restrip and then clean with warm water and a scrubby and SOS pad. Finally, force it dry with a hair dryer or heat gun to raise the grain and pull the water and last of the grease out of the wood.

[Broken External Image]:

Clean and bare and ready for a very light sanding, nothing coarser than 220g.

i.imgur.com_j9QSBs9.jpg


[Broken External Image]:

When pulling the buttstock, make sure the screwdriver head is in the slot. Get wedged between the screwhead and the wood and you'll turn it an pop out a lovely bullseye of wood on one side of the stock.

i.imgur.com_aBtNMSr.jpg


Aluminum buttplate....previously sanded away the color. Nothing to do to refinish that....I won't paint it. We could put on a new black plate but this is original and tells some stories and its in decent shape, I'll polish the edge in finishing the wood and leave it bright.

i.imgur.com_XpvHFfU.jpg


Stock was sanded, and the compass housing sits proud of the stock, the edges will in any even since its located in the curve but we can deepen it a bit for the refinish and installation of a new one...make it look a bit better.

i.imgur.com_IuizPxi.jpg


You can't drill a big hole on the curve of a finsished stock without tear out. So I hand turn a smaller bit and plunge in with chisels to clean out the corners.

A new slightly deeper flat bottomed hole for the compass cup to rest in.

i.imgur.com_ESpLFhE.jpg


[Broken External Image]:
 
Last edited:
Okay, lets see.....The rifle is a Remington 740, made only 5 years from 1955 to 1960.

The buttstock is a definite replacement. It is stamped 742..made from 1960 to about 1980.

My hands are purple from sanding the buttstock....its for sure Walnut. The forend, may be walnut, may be mahogany, but I am leaning toward walnut even though sanding it didn't purple my hands.

But, here we go....not much sanding to do. The wood was pretty good for dents and boogers, the finish came right off and after a whiskering I was ready to freeze the grain with the first coat of truoil rubbed in hard....it'll get lightly sanded again to smooth out the grain and then on to final finishing.

The dark oilstain at the wrist is much lighter. It won't be as noticeable when the stock is finished as it was before. Alternating between stripper, sos pads and gentle heat I was able to pull most of the oil out. The wood is just a touch punkey at the surface but sound and the finish will harden it for a smooth sanding. As is, without some finish worked into the wood, it just balls up under the sanding and leaves ugly gouges.

i.imgur.com_CzsMVeS.jpg


Over to the palm sander to bring the stock into the shape of the smaller buttplate. I don't know which gun the buttplate came off of but it was smaller than the stock and the last refinish simply tapered the stock to the buttplate, ala Boat Tail. Reshapeing was in order....and it offers the opportunity to get some of the deep gouges out of the edges of the buttplate.

i.imgur.com_m1n6NSa.jpg


Both sides power sanded and starting in on a very gentle hand sanding, with the grain, using 220g. And, staying clear of the edges around the action panels as they were very close to the level of the metal to begin with. Removal of some wood is a forgone conclusion but I don't want to make the wrist of the stock too small where it meets the rear of the action.

[Broken External Image]:

Just nice walnut. No fancy grain, but straight and strong and dense old wood, well seasoned. First coat of finish in the wood and tonight it gets a final light sanding and more rubbing of the Tru Oil. Keeps on snowing, I won't have to be back to work till Tuesday....so....I spect this one will be done pretty quick.

[Broken External Image]:

Guess I better go figure out that action and get in there and clean it out.
 
Sorry OPSMAN. A thorough clean out ain't possible. I do not have the proper action blocks or barrel wrench to get the bolt and action arms out. So, Tooth brush and swooshie straws and we'll get it as clean as we can reach!.

i.imgur.com_o7w9iI2.jpg


i.imgur.com_hVqmYV7.jpg
 
Well, the ice is outta the driveway and I've carved the checkerboard pattern on the rest and momma solar is doin her thing makin the squares loosen up and disappear quick.

As for the stocks, third coat of finish is rubbed in. If the TC stock was Hollywood Gal, this here stock is Hometown Hottie next door. Nice straight grain, streaked with black lines and lovely interplay of red, brown, black, bronze, green. I'll have to shoot some pics in good light. Darn nice.
 
This stock is lookin finer than 38C with Ultratittium Neilson Rating Improver Gloss! Fourth coat is in and when set, I'll finalize the depth of the compass assembly before continuing with the refinish.
 
Morning work....rub out the forend.....compared to the yet to be rubbed out stock, much smoother and level now...looks fine as is for a matt finish....we'll go satin later though.

i.imgur.com_LsGGkpS.jpg


i.imgur.com_OgOdw4y.jpg


The camera doesn't do a good job catching the interplay of colors in the walnut....but as you can see, the dark oil stain at the upper wrist is much less noticeable.....the wood grain shows. The endgrain is now well sealed.

[Broken External Image]:

The NOS Gunners Guide to replace the one that was long smashed....with instructions too. I'll put the broken parts back in the box with the instructions.

i.imgur.com_q0g57CP.jpg


Test fitting, using the drill to press the cup home and cleaning out any interference with the chisels as I go.

i.imgur.com_3uyOPl4.jpg


In and bottomed and the holes match up with the original install....no need to swiss cheese the stock with new screw holes.

i.imgur.com_Hwn3Uoc.jpg
 
Back
Top Bottom