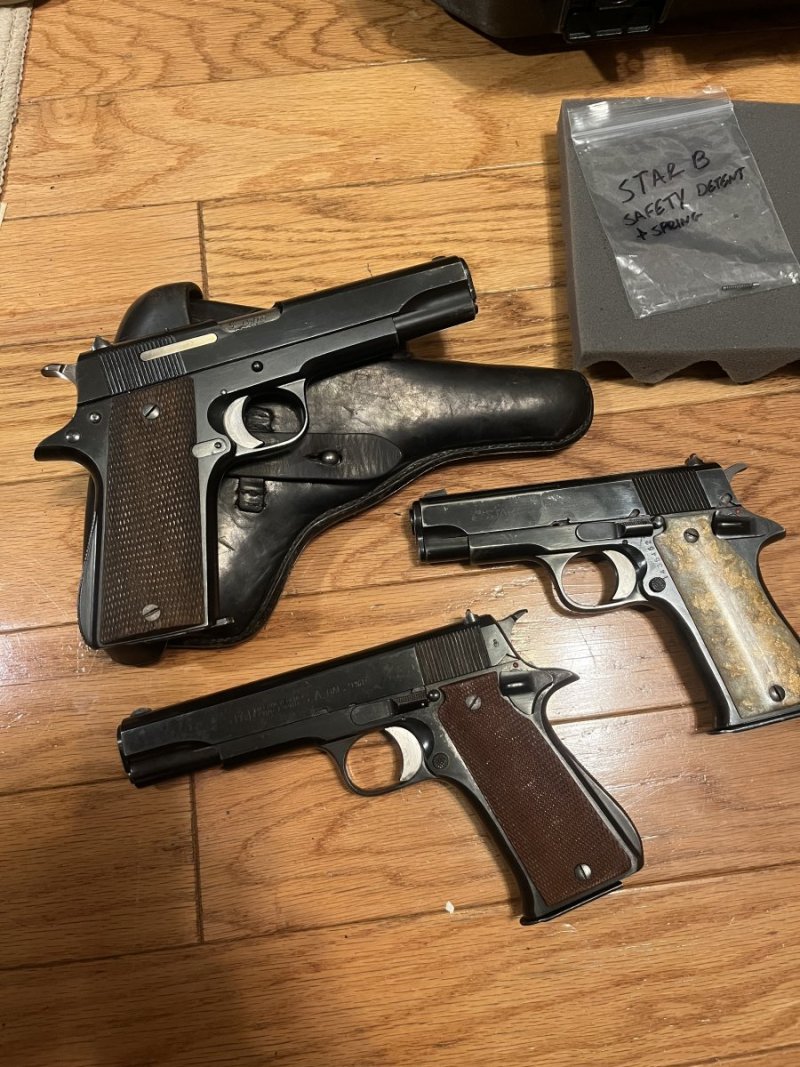
Guys it makes me feel good to able to bring back a fine firearm back from disparity. Thanks for the comment 77REBELBOWTIE on the red locktite on the magazine release but I'm not sure it was red locktite or I'm just a nob and not getting it. I can hope for the former but it's likely the latter.
I have made mistakes before and with time I have tried to learn and to stop and do no more harm. Sometimes the best option is to stop and reconsider.
The S&W 3rd generation pistols are great pistols. If you know your way around a 1911 or a Hi-Power you will be fine working on one of these. The first generation had some feeding issues that were related to design issues that were corrected in subsequent models.
Last edited: