• ODT Gun Show & Swap Meet - May 4, 2024! - Click here for info

Taurus 856, 38 Special, Notes, Thoughts and Basic Tuning

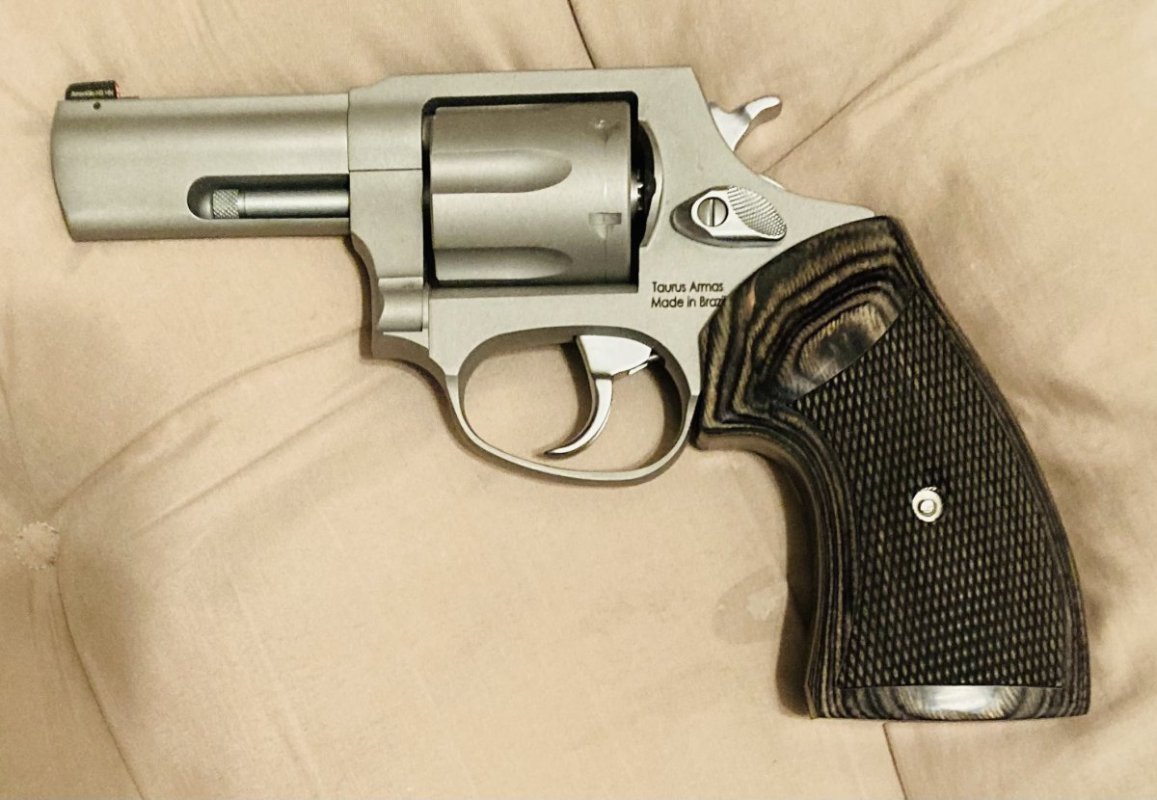
More to follow as eventually I'll be replacing that very hard to see black front sight.

About 500 down the tube now and its a shooter and a keeper. Have even put down a largeish deer with it recently. Right on the money at 7 to 10 yards with +p 125g loads. Easy to shoot long sessions. Dosn't kick near as bad as the LCR and lots less than the J frame even. Pocket carries nicely and the extra weight is not a burden, pocket or hip, if you don't dress gangsta style......e.g. your pants fit and you wear a belt.
 
AmeriGlo Front Sight on. Some of the orange fill is flaked out. It'll need a touch up I suppose. Check before install so you can return if needed. I'll just hit it with testors orange enamel and move on.


1.jpg
 
A few minutes with a round file converts it to a trough then smoothed with 180g paper. I didn't go all the way to the bottom so a portion of the old square corners still show but it picks up quickly now and should be lots easier to get on center. A touch of Matt black paint in the trough is optional if you get any glare.

3.jpg
 
Back in the 90s Taurus made a snub nose, spur-less hammer, small frame revolver for concealed carry in caliber 17 HMR. Not the Tracker, which is a medium frame but on the small frame. I believe the model is long defunct but I located a like new spur-less hammer from one for $12. So, time for a DAO conversion of this Model 856, which is also built on the Taurus Small Frame.

Not exactly the same visually, but very close dimensionally and easy enough to fit into place rather than grind away on the original spurred hammer.

1.jpeg
 
Hammer axle in the frame is .140" dia. Hole in the spur-less hammer is .120". Shown here with the hole reamed and polished to a free running fit on the axle, edges of the new axle hole chamfered, bluing buffed off and the arc at the top of the hammer stoned a few thousands to eliminate one spot where the top of the hammer rubbed the inside of the frame. Took longer to set up the press for drilling and reaming than to actually do the work.

2.jpeg
 
Test fitting the new spur-less hammer in the action. Function is just fine. Out for a final polish, cleaning and lubrication of all the points of contact.

3.jpeg
 
All done but removal of the hammer blocking screw, and for that, I'll have to round up a Taurus Key, just don't want to pay $15 shipped to get one..... (The spur-less hammer is 37 grains lighter, as shown here, than the original spurred hammer.)

Had it out to the backyard range and function is perfect. Ready for Spring, and pocket carry.

5.jpeg
4.jpeg
 
Back
Top Bottom