• ODT Gun Show & Swap Meet - May 4, 2024! - Click here for info

Building a reloading bench

jsquared

Default rank 5000+ posts
The Hen that laid the Golden Legos
43   0
Joined
Jul 26, 2010
Messages
5,205
Reaction score
34
Location
Athens, GA
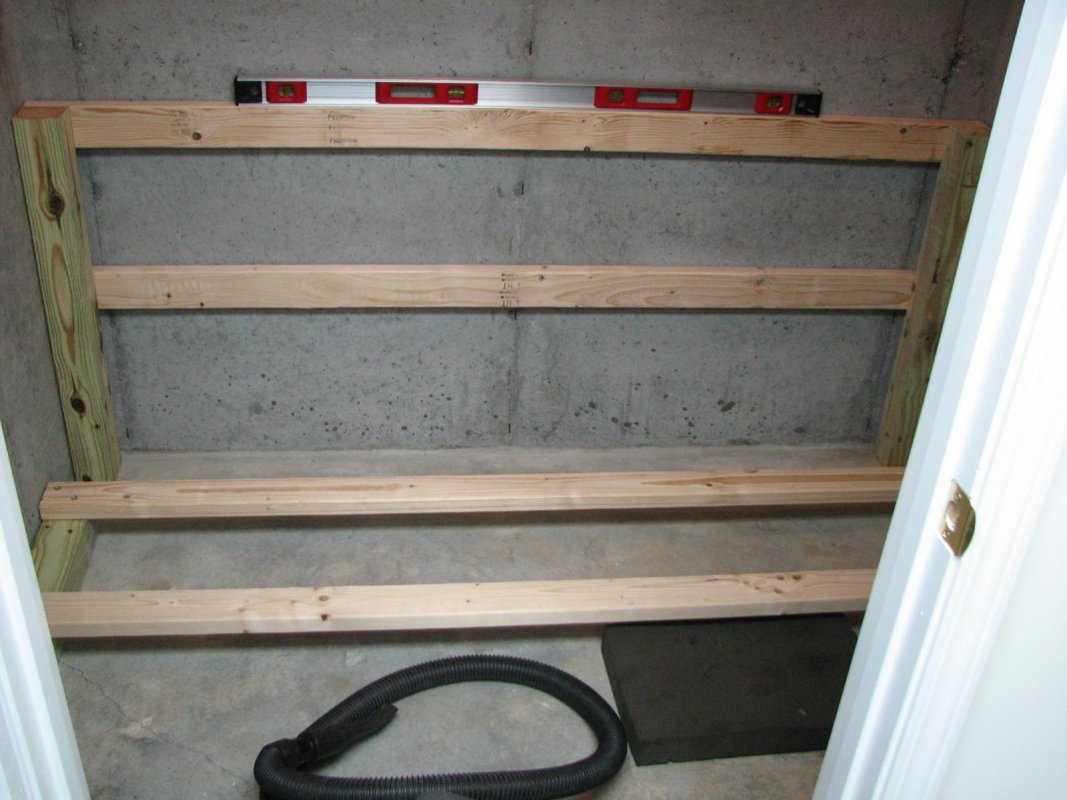
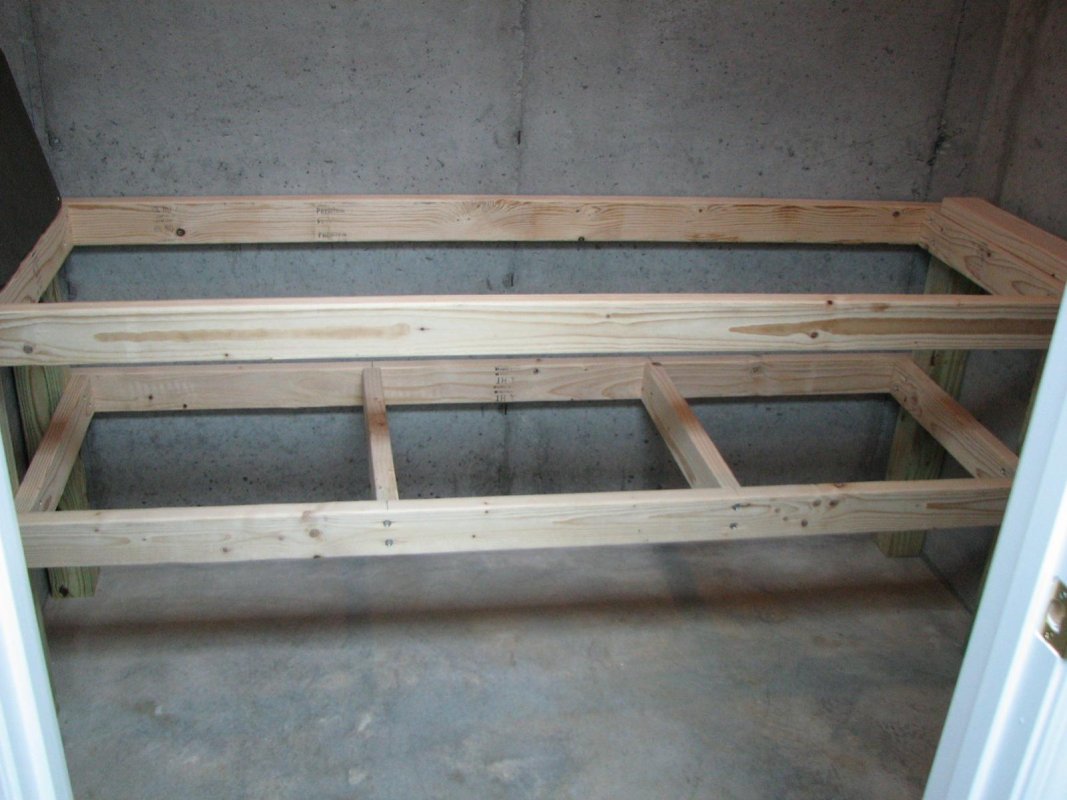
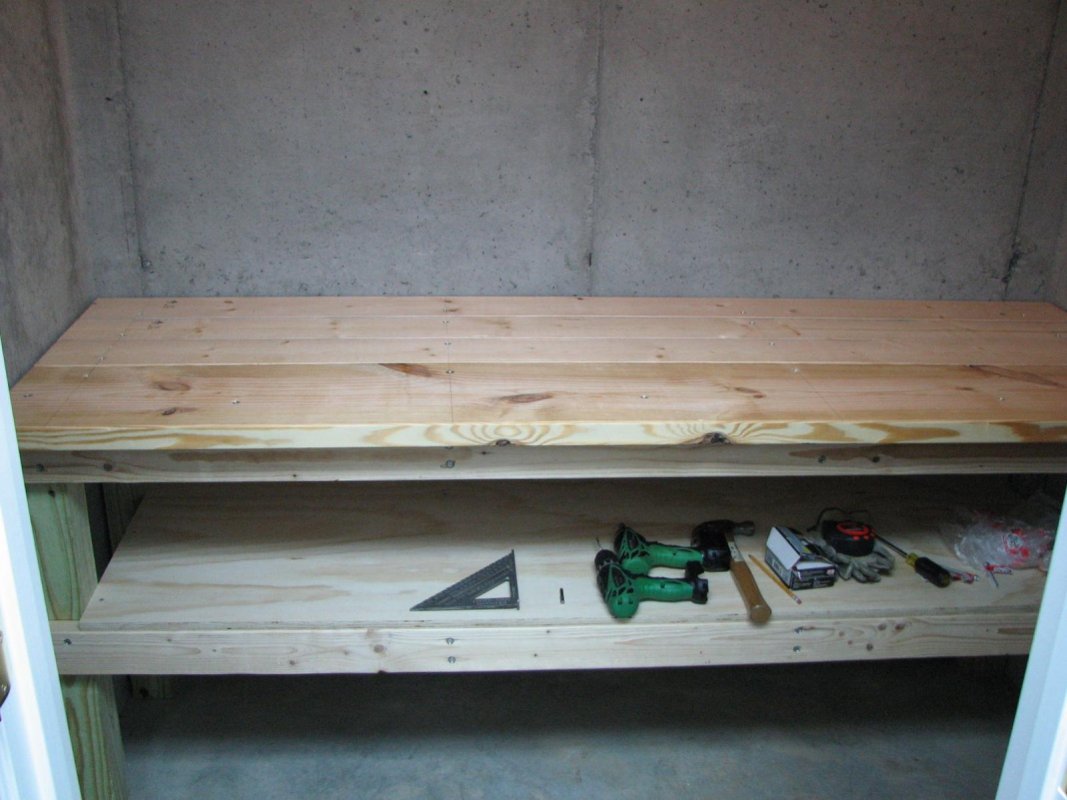
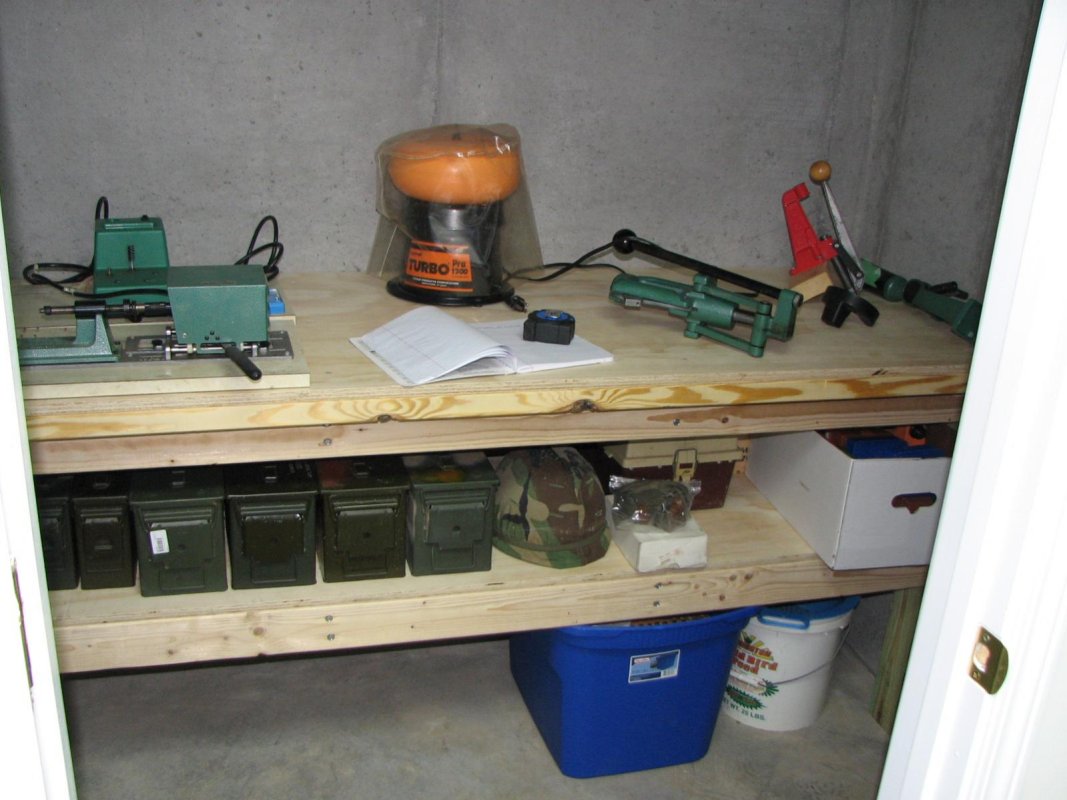
Got materials to build a bench this weekend, pretty excited to start in on reloading. Any tips yall could offer for little things that would make reloading on any given bench easier? Lip clearance, press positioning, storage underneath, storage on the bench, height on the work surface, etc. Wanting to get some ideas on ways I could make it a bit more reloading-specific and anything that would reloading on a bench easier that I could work into the design. Thanks in advance.
 
In general:

- You can never have enough storage
- Unless bolted to the wall or floor, you can never have enough weight, i.e., build a sturdy lower shelf and use it to store your lead

Height is really a function of your personal preference and workstyle. If you load standing up, a higher bench works best, or you can raise your press up on some type of mount. If you load sitting down, height depends on your chair (adjustable height chair is a plus). 34" is typical workbench height.

The lip of your bench is really a function of the strength of the bench's top, and whether or not you want to attach stuff underneath. A reloading press puts a tremendous amount of torque on the leading edge of the bench. Most equipment will work without a lip, but a little extra cleanance behind the leading edge of the bench can be helpful.

Shelves...built to taste. It's easy to accumluate a lot of reloading knick-knacks. Again, generalizing, more storage is better than less.

My bench is baesd on the popular NRA reloading bench design, primarily 2x4 and 4x4 construction. Pretty heavy duty. Bench top is 35" high, white melamine 3/4" glued/bolted to a 1/2" plywood sheet. A hardwood insert is in place of the melamine where my Lee Classic Cast Turret is bolted. Lots of shelves, lots of weight stored below.

www.zjstech.net_gunstuff_images_bench201103_800w.jpg


See this helpful thread:

http://www.theoutdoorstrader.com/showthread.php?37225-Show-Your-Reloading-Bench/
 
some of my bench build pics, basic build and heavy duty at the same time, second shelf for ammo can storage. simple easy construction all 3.5 inch lag bolted only, 1.5 inch deck screws for top only used 12. The top is 28" x 80" the secondary shelf is 25" x 73". My overhang is 3" I should have made it 3.5" or more. I had to fit the space in my work room which is only 60" x 80", the wall concrete supports were 25" x 80" roughly so I filled that area with bench. there is more bracing than shown in pics and I pre-drilled and countersunk all bolts. Hope this gives you ideas
 

Attachments

  • IMG_2492.jpg
    IMG_2492.jpg
    189.3 KB · Views: 311
  • IMG_2497.jpg
    IMG_2497.jpg
    185 KB · Views: 313
  • IMG_2499.jpg
    IMG_2499.jpg
    178.6 KB · Views: 310
  • IMG_2502.jpg
    IMG_2502.jpg
    192.3 KB · Views: 293
  • IMG_2504.jpg
    IMG_2504.jpg
    181 KB · Views: 303
  • IMG_2506.jpg
    IMG_2506.jpg
    175.9 KB · Views: 314
Awesome pics, thanks man. Here is the basic design i have been working from, carriage bolts holding the legs together and the top sheet separate, screwed together but removable in case I relocate. I am making mine a bit higher so I can use a stool and not a chair, and adding a few drawers underneath for misc stuff.

[Broken External Image]:
 
Your drawing is basically my bench except I did it all in my head and changed on the fly. I used 2x12 and 2x6's under the 3/4" oak plywood top to make it 2 1/4" thick top. I used the 2x12 for my over hang and bolted it to the cross supports as well as the front 2x4. I thought about carriage, but decided to lag which can be pulled apart later also if need be. I also built shelves I will take a pic and post later. Mine is the same height, I just based it off the height of my kitchen cabinets, 34 1/2 high. Your drawing doen't show the over hang don't forget to add it for bolting purposes or clamping stuff.
 
Last edited:
Mounting your press to a 2x6 and then fastening the 2x6 to your bench with some long deck screws will allow you to get plenty of overhang and also allows you to zip out a couple of screws and store your press or make room on your bench for other tasks.
 
Well its coming along pretty well, thanks for the advice guys. I killed my cordless drill last night (killed as in, dead dead) so it will be on hold until I can get it warrantied out or buy another one. Probably going to go for a corded drill this time, havent had a lot of luck with cordless stuff.

Anyway, got a couple of questions on the design, seeing if anyone wanted to add some cents:

- I'm using 3/4" ply for the top sheet, do you think that will be strong enough for 3.5" of overhang, or should I do 2-3" instead?

- I'm covering the 3/4" top sheet with 1/4" masonite, which I have seen get gouged and compressed with a LOT of force being applied. Would it be best to leave bare section for the vise and reloading press? I'm probably going to be using a piece of 2x6 to mount the press, so Im wondering if I should have it on top of the masonite or right on the plywood sheet. Wouldnt be a big deal to leave a 6x6 section on either front corner to mount things.

- Someone mentioned to have my scale at eye level, thinking about building a shelf on the top surface to handle that and also offer a place to hang an extendable light from. Any thoughts?

- Also thinking about adding power strips to make working a bit easier. Any more to it besides mounting some strips to the bench and routing the plugs? What about an inline breaker at the bench, good idea or not needed?
 
Coming together...

img.photobucket.com_albums_v206_candykane101_wb.jpg


Will be doing the bottom shelf tonight and covering both surfaces with masonite, then working on a removable shelf for the top.
 
Back
Top Bottom